Capturing a Selfie
Applies to: Direct | Capture
The 3-step identity validation is just like the 2-step identity validation but with the added step of capturing a selfie.
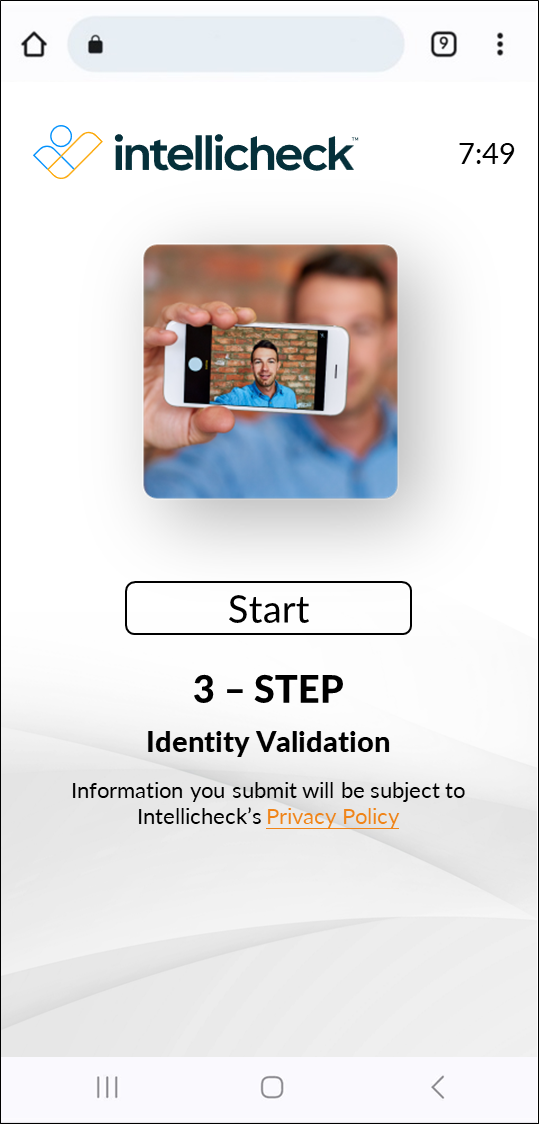
-
Step 1 is Capturing the Front of the ID.
-
Step 2 is Capturing the Back of the ID.
-
Step 3 is capturing a selfie, as described here.
Subscription content follows. Standard plans include 2-step identity validation. But selfie capture (also known as facial verification) is a subscription service. Contact Intellicheck® for more information.
Keep the following tips in mind before you begin.
🐼 Include a complete face in the selfie.
👓 Remove sunglasses, hats, or other articles that obstruct the face.
🔅 Find a well-lit area.
To capture a selfie, follows these steps:
- Select Continue on the Biometric Policy page.
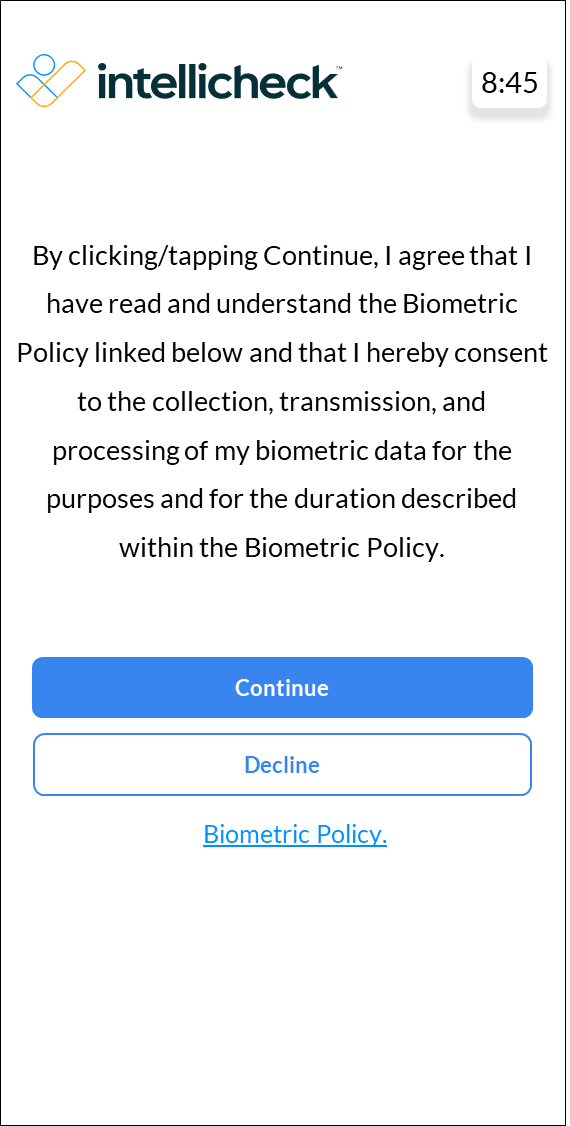
Read the Intellicheck biometric policy here.
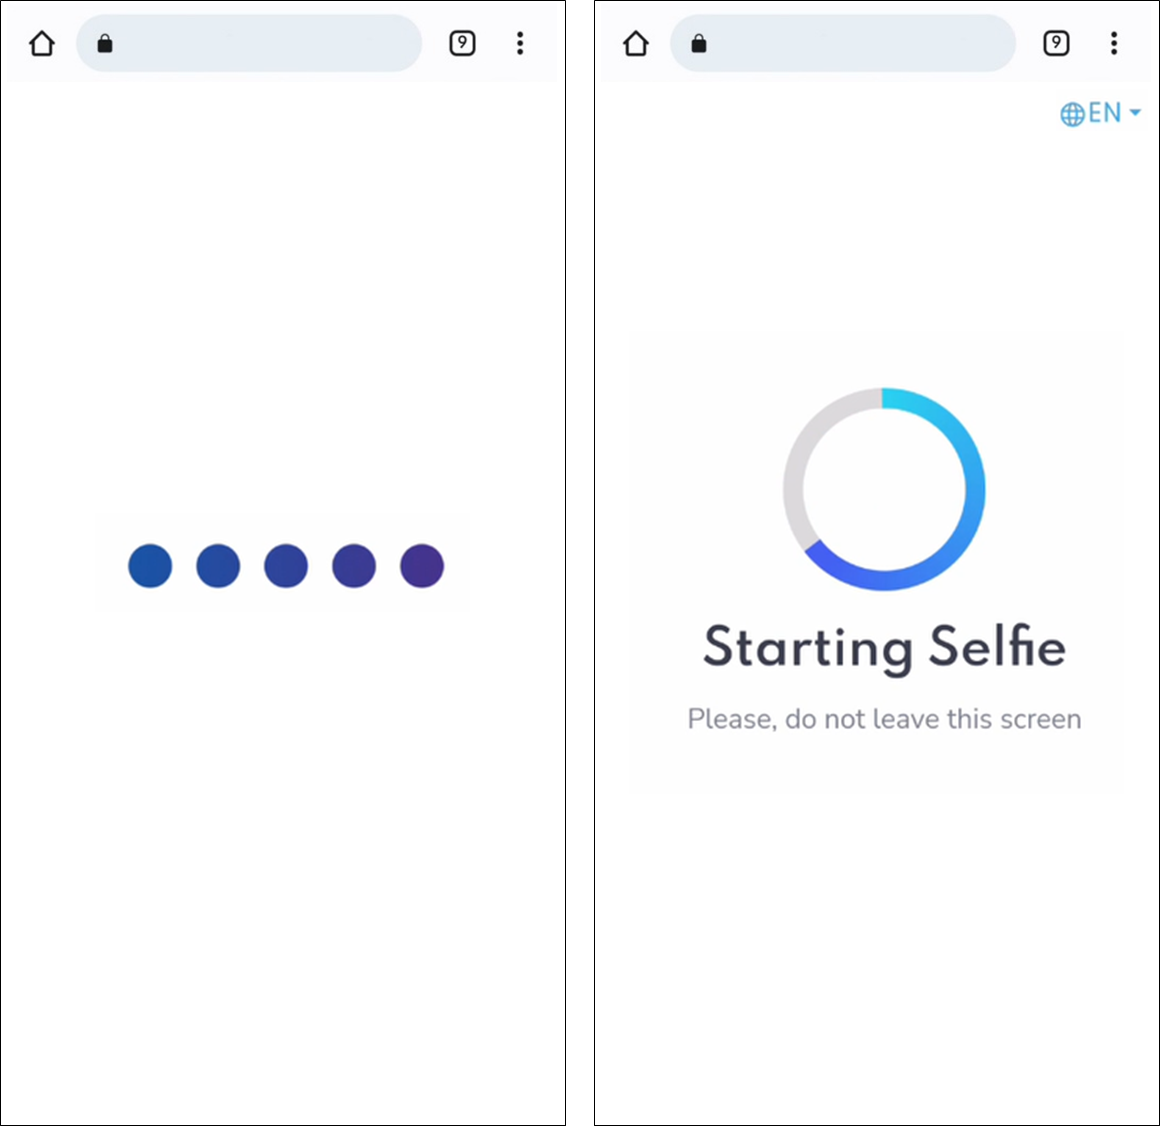
- Two Starting Selfie pages are displayed in quick succession, and then the device camera is turned on.
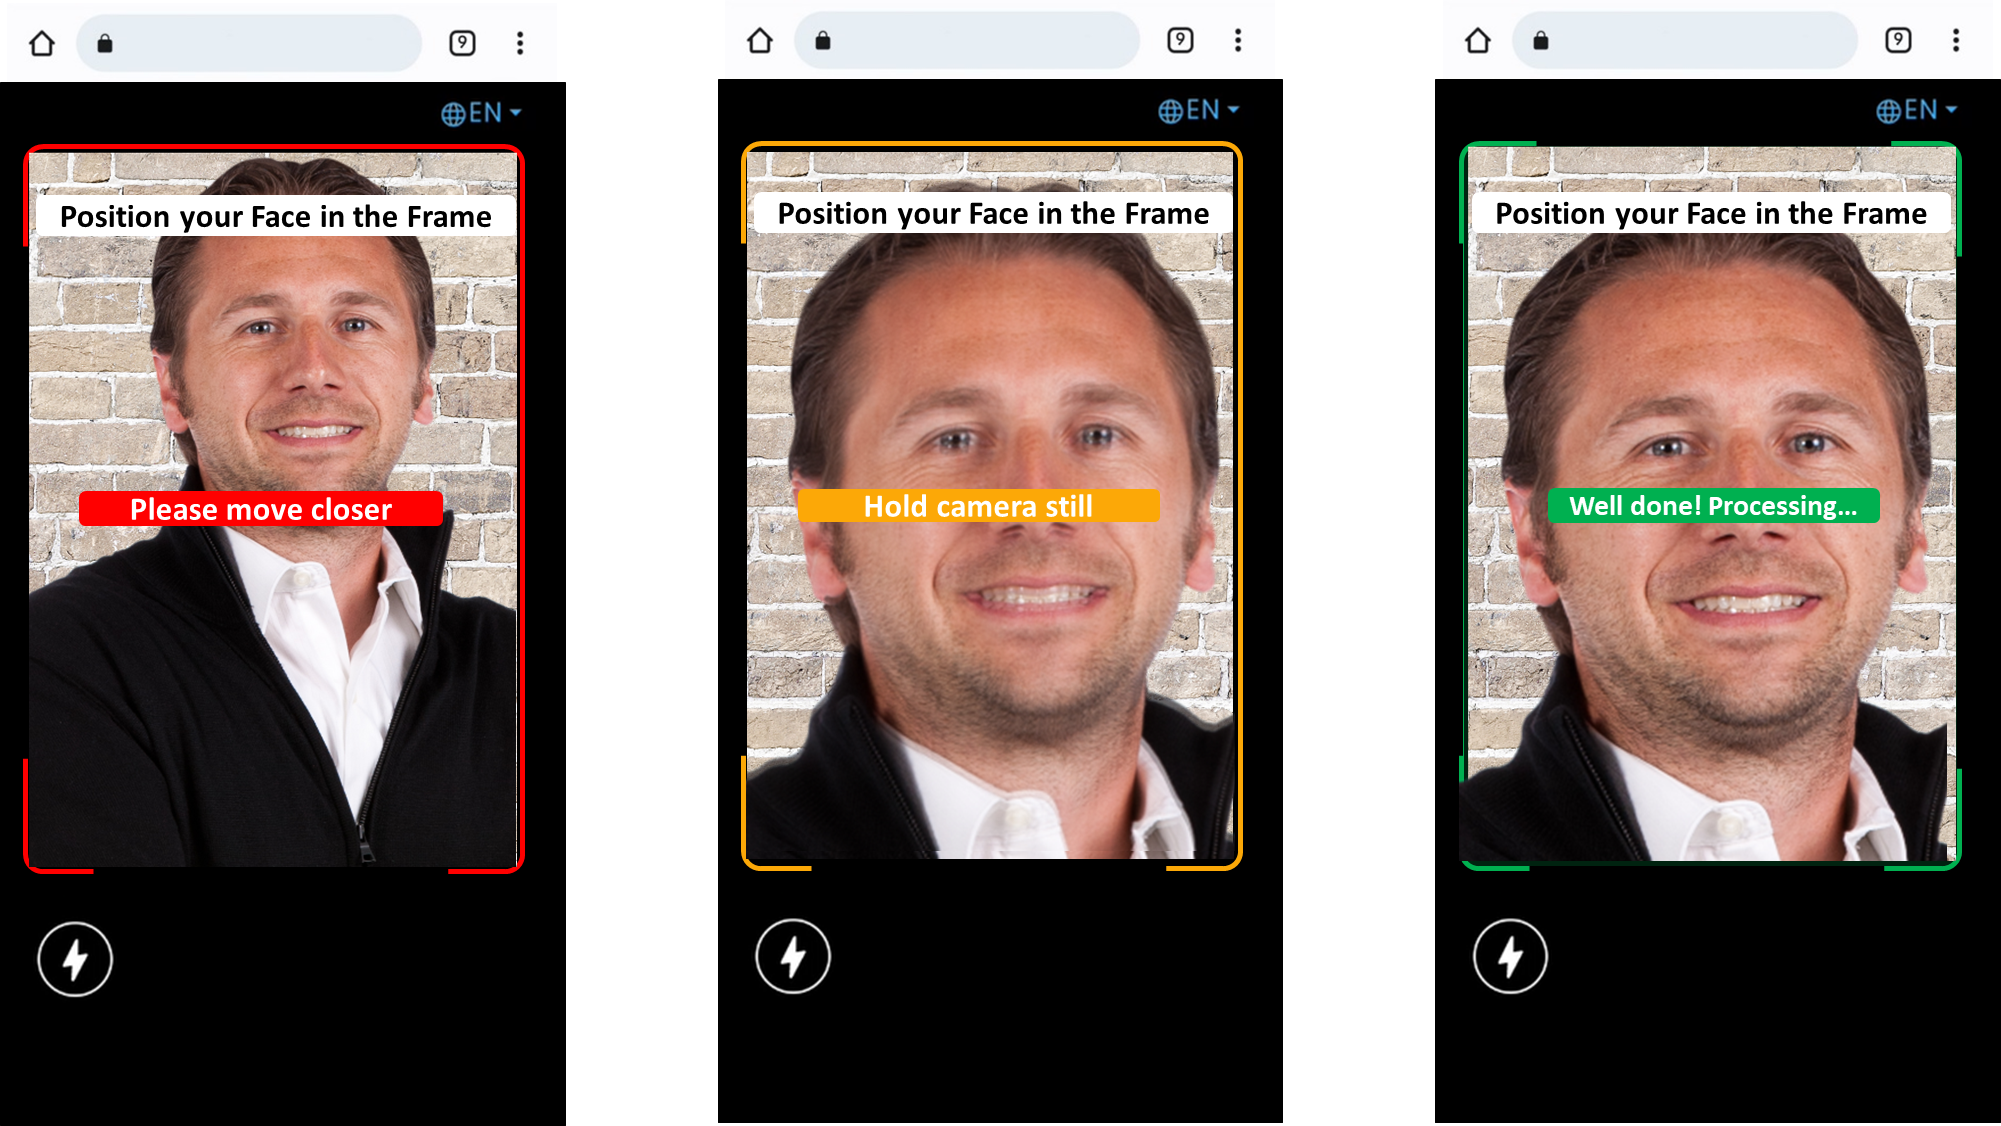
- With the camera active, various messages are displayed, such as: Face into center, please; Hold camera still; Camera angle needs to be adjusted. Well done! Processing means you are finished.
- Three pages appear in quick succession: Submitting Selfie, One Moment Please, and Submitted.
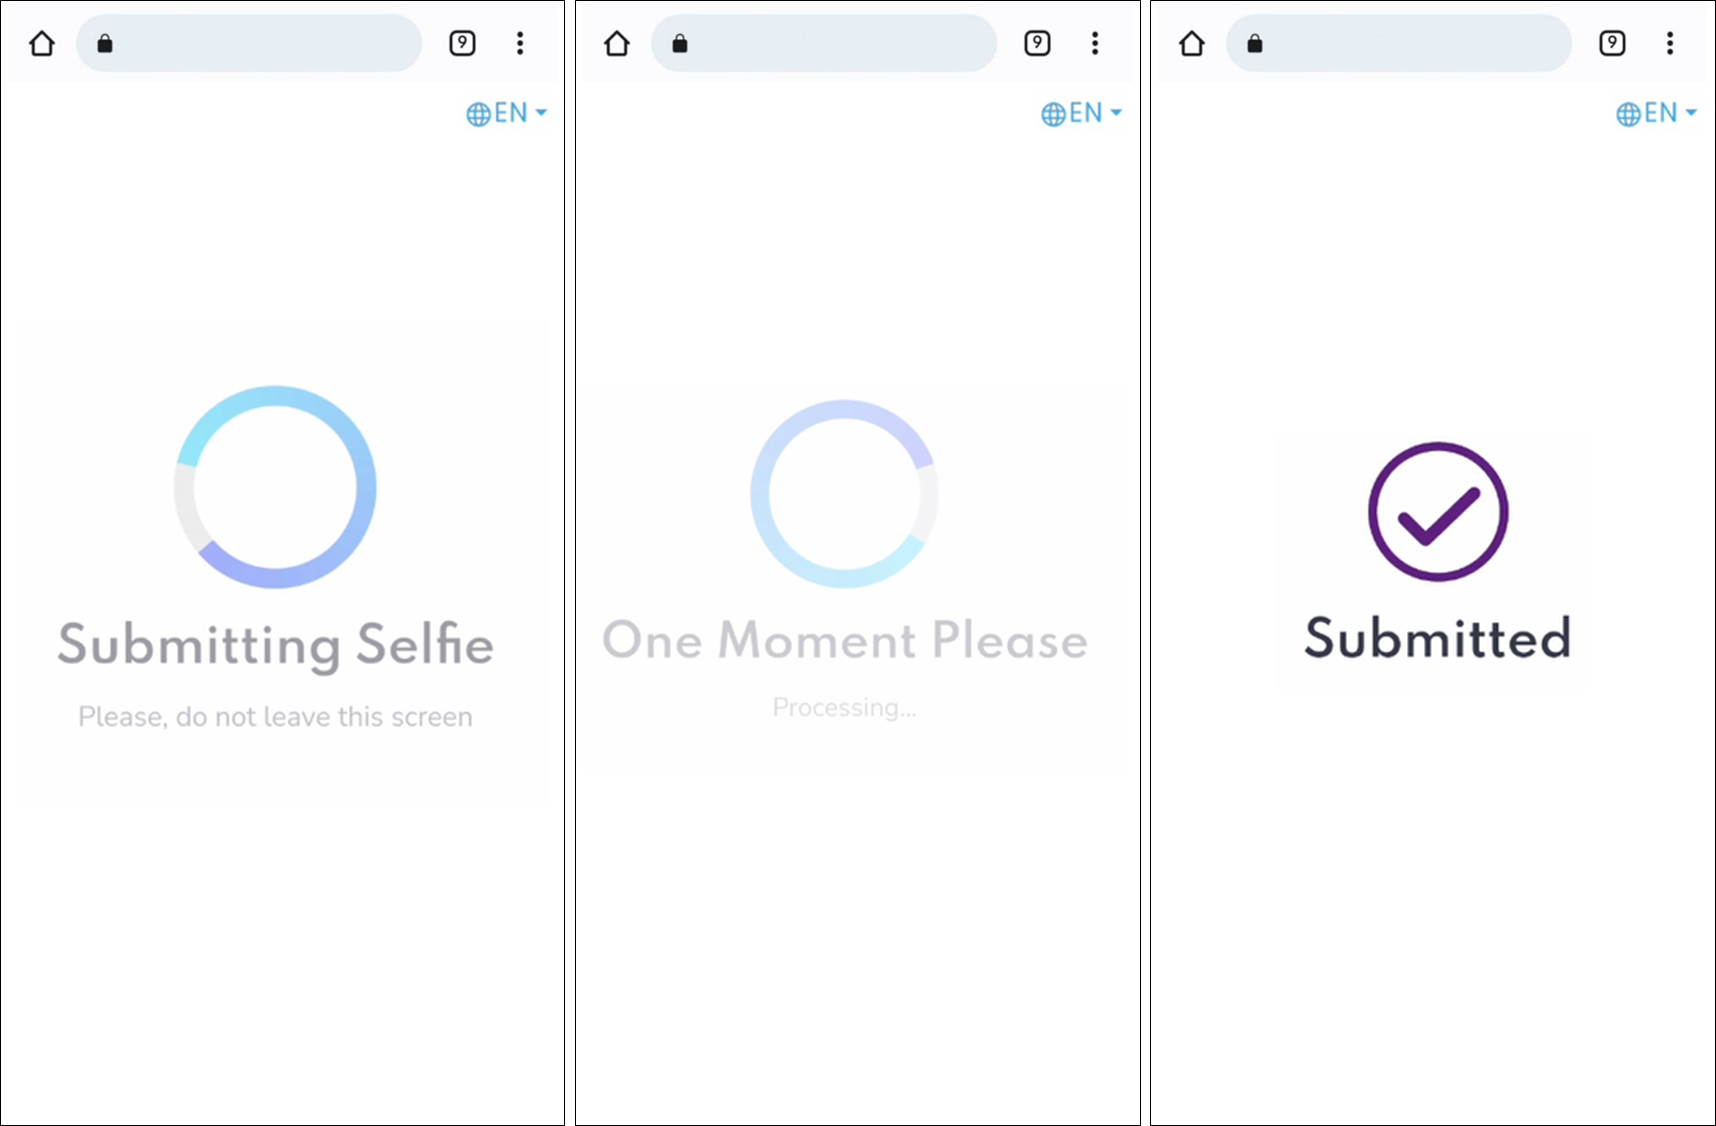
- The image is submitted.

Your 3-step identity validation is complete!
Updated 6 months ago
What’s Next
